> ## Documentation Index
> Fetch the complete documentation index at: https://docs.phala.com/llms.txt
> Use this file to discover all available pages before exploring further.
> Get started quickly with Next.js and Python templates on Phala Cloud.
# NextJS & Python
There are a couple templates that we offer to allow you to get started without any heavy lifting. The steps to get started are simple and easy to test in a few minutes.
#### Before You Start
Make sure you have [Docker Desktop](https://www.docker.com/products/docker-desktop/) or [OrbStack](https://orbstack.dev/) started before you begin. \
\
Also, make sure you have gone through the [Sign-up for Cloud Account](/phala-cloud/getting-started/sign-up-for-cloud-account) section before continuing.
### Phala Cloud Next.js Starter
This is a template for developing a [Next.js](https://nextjs.org/)-based app with boilerplate code targeting deployment on [Phala Cloud](https://cloud.phala.com/) and [dstack](https://github.com/dstack-TEE/dstack/). It includes the SDK by default to make integration with TEE features easier. This repo also includes a default Dockerfile and docker-compose.yml for deployment.
### Requirements
* [Node](https://nodejs.org/en) >= v18.18
* [yarn](https://yarnpkg.com/)
* Docker or Orbstack
### Development
First, you need to clone this repo:
```shell theme={"system"}
git clone --depth 1 https://github.com/Phala-Network/phala-cloud-nextjs-starter.git
```
Next, let's initialize the development environment:
```shell theme={"system"}
yarn
cp env.local.example .env.local
```
We also need to download the dstack simulator:
```shell theme={"system"}
# Mac
wget https://github.com/Leechael/tappd-simulator/releases/download/v0.1.4/tappd-simulator-0.1.4-aarch64-apple-darwin.tgz
tar -xvf tappd-simulator-0.1.4-aarch64-apple-darwin.tgz
cd tappd-simulator-0.1.4-aarch64-apple-darwin
./tappd-simulator -l unix:/tmp/tappd.sock
# Linux
wget https://github.com/Leechael/tappd-simulator/releases/download/v0.1.4/tappd-simulator-0.1.4-x86_64-linux-musl.tgz
tar -xvf tappd-simulator-0.1.4-x86_64-linux-musl.tgz
cd tappd-simulator-0.1.4-x86_64-linux-musl
./tappd-simulator -l unix:/tmp/tappd.sock
```
Once the simulator is running, you need to open another terminal to start your Next.js development server:
```shell theme={"system"}
yarn dev
```
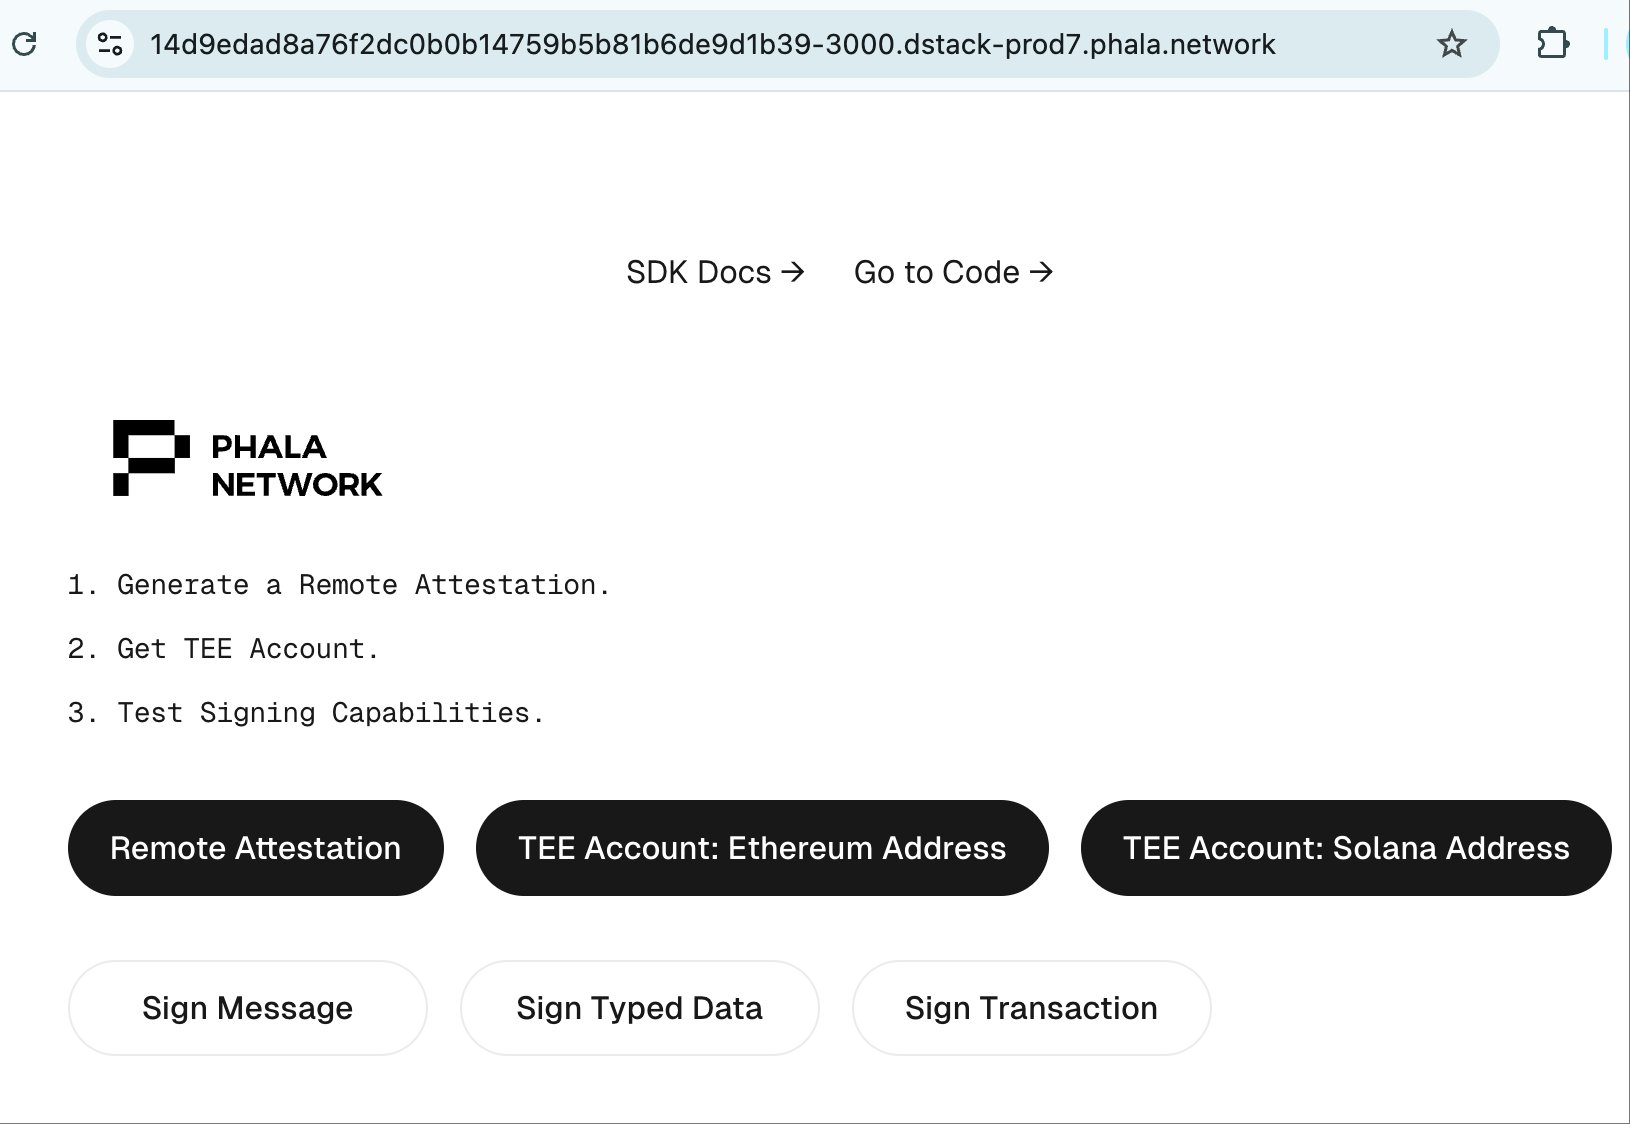
By default, the Next.js development server will listen on port 3000. Open [http://127.0.0.1:3000/](http://127.0.0.1:3000/) in your browser and check.
This repo also includes code snippets for the following common use cases:
* `/api/tdx_quote`: The `reportdata` is `test` and generates the quote for attestation report via `getQuote` API.
* `/api/tdx_quote_raw`: The `reportdata` is `Hello DStack!` and generates the quote for attestation report. The difference from `/api/dx_quote` is that you can see the raw text `Hello DStack!` in [Attestation Explorer](https://proof.t16z.com/).
* `/api/eth_account/address`: Using the `getKey` API to generate a deterministic wallet for Ethereum, a.k.a. a wallet held by the TEE instance.
* `/api/solana_account/address`: Using the `getKey` API to generate a deterministic wallet for Solana, a.k.a. a wallet held by the TEE instance.
* `/api/info`: Returns the TCB Info of the hosted CVM.
### Build and Publish to Docker Registry
You need to build the image and push it to DockerHub for deployment. The following instructions are for publishing to a public registry via DockerHub:
For this to be logged into Docker to push to registry. Run docker login to login in the CLI.
#### Build and Publish with Docker CLI
```shell theme={"system"}
docker build . -t /my-app:latest
docker push /my-app:latest
```
Now we have an official docker image for our nextjs app. Let's deploy to Phala Cloud now.
### Deploy to Phala Cloud
You can copy and paste the `docker-compose.yml` file from this repo to see the example up and running.
#### Deploy in Phala UI
Go to your Phala Cloud dashboard and click Deploy. You will have an option for deploying via docker compose file. Click on this option to deploy.
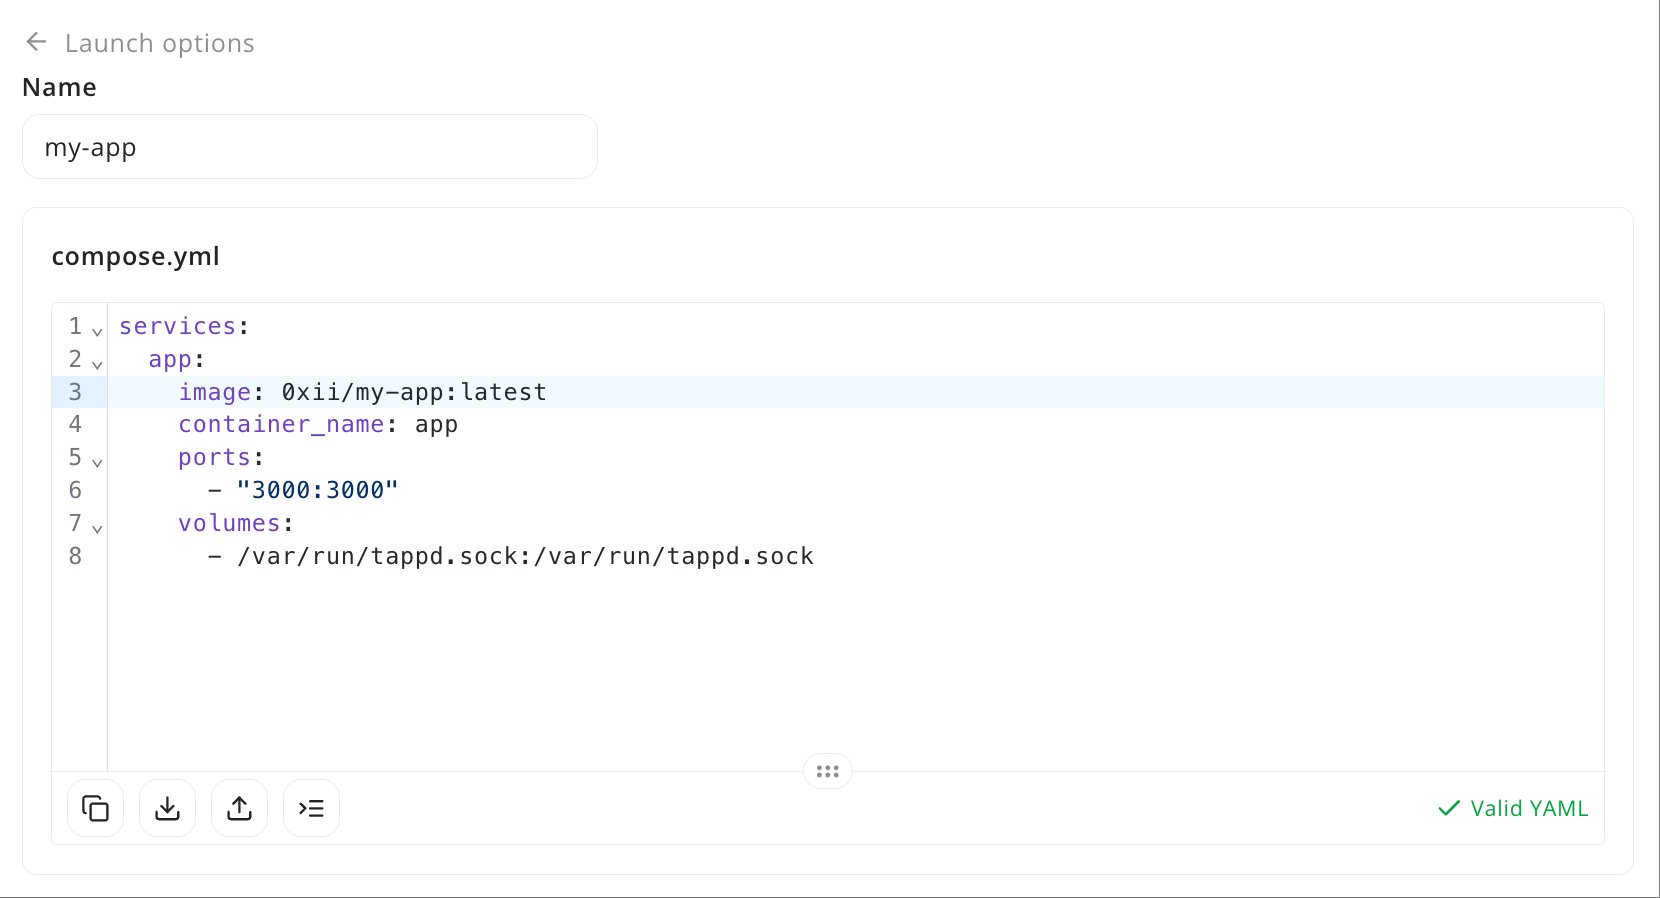
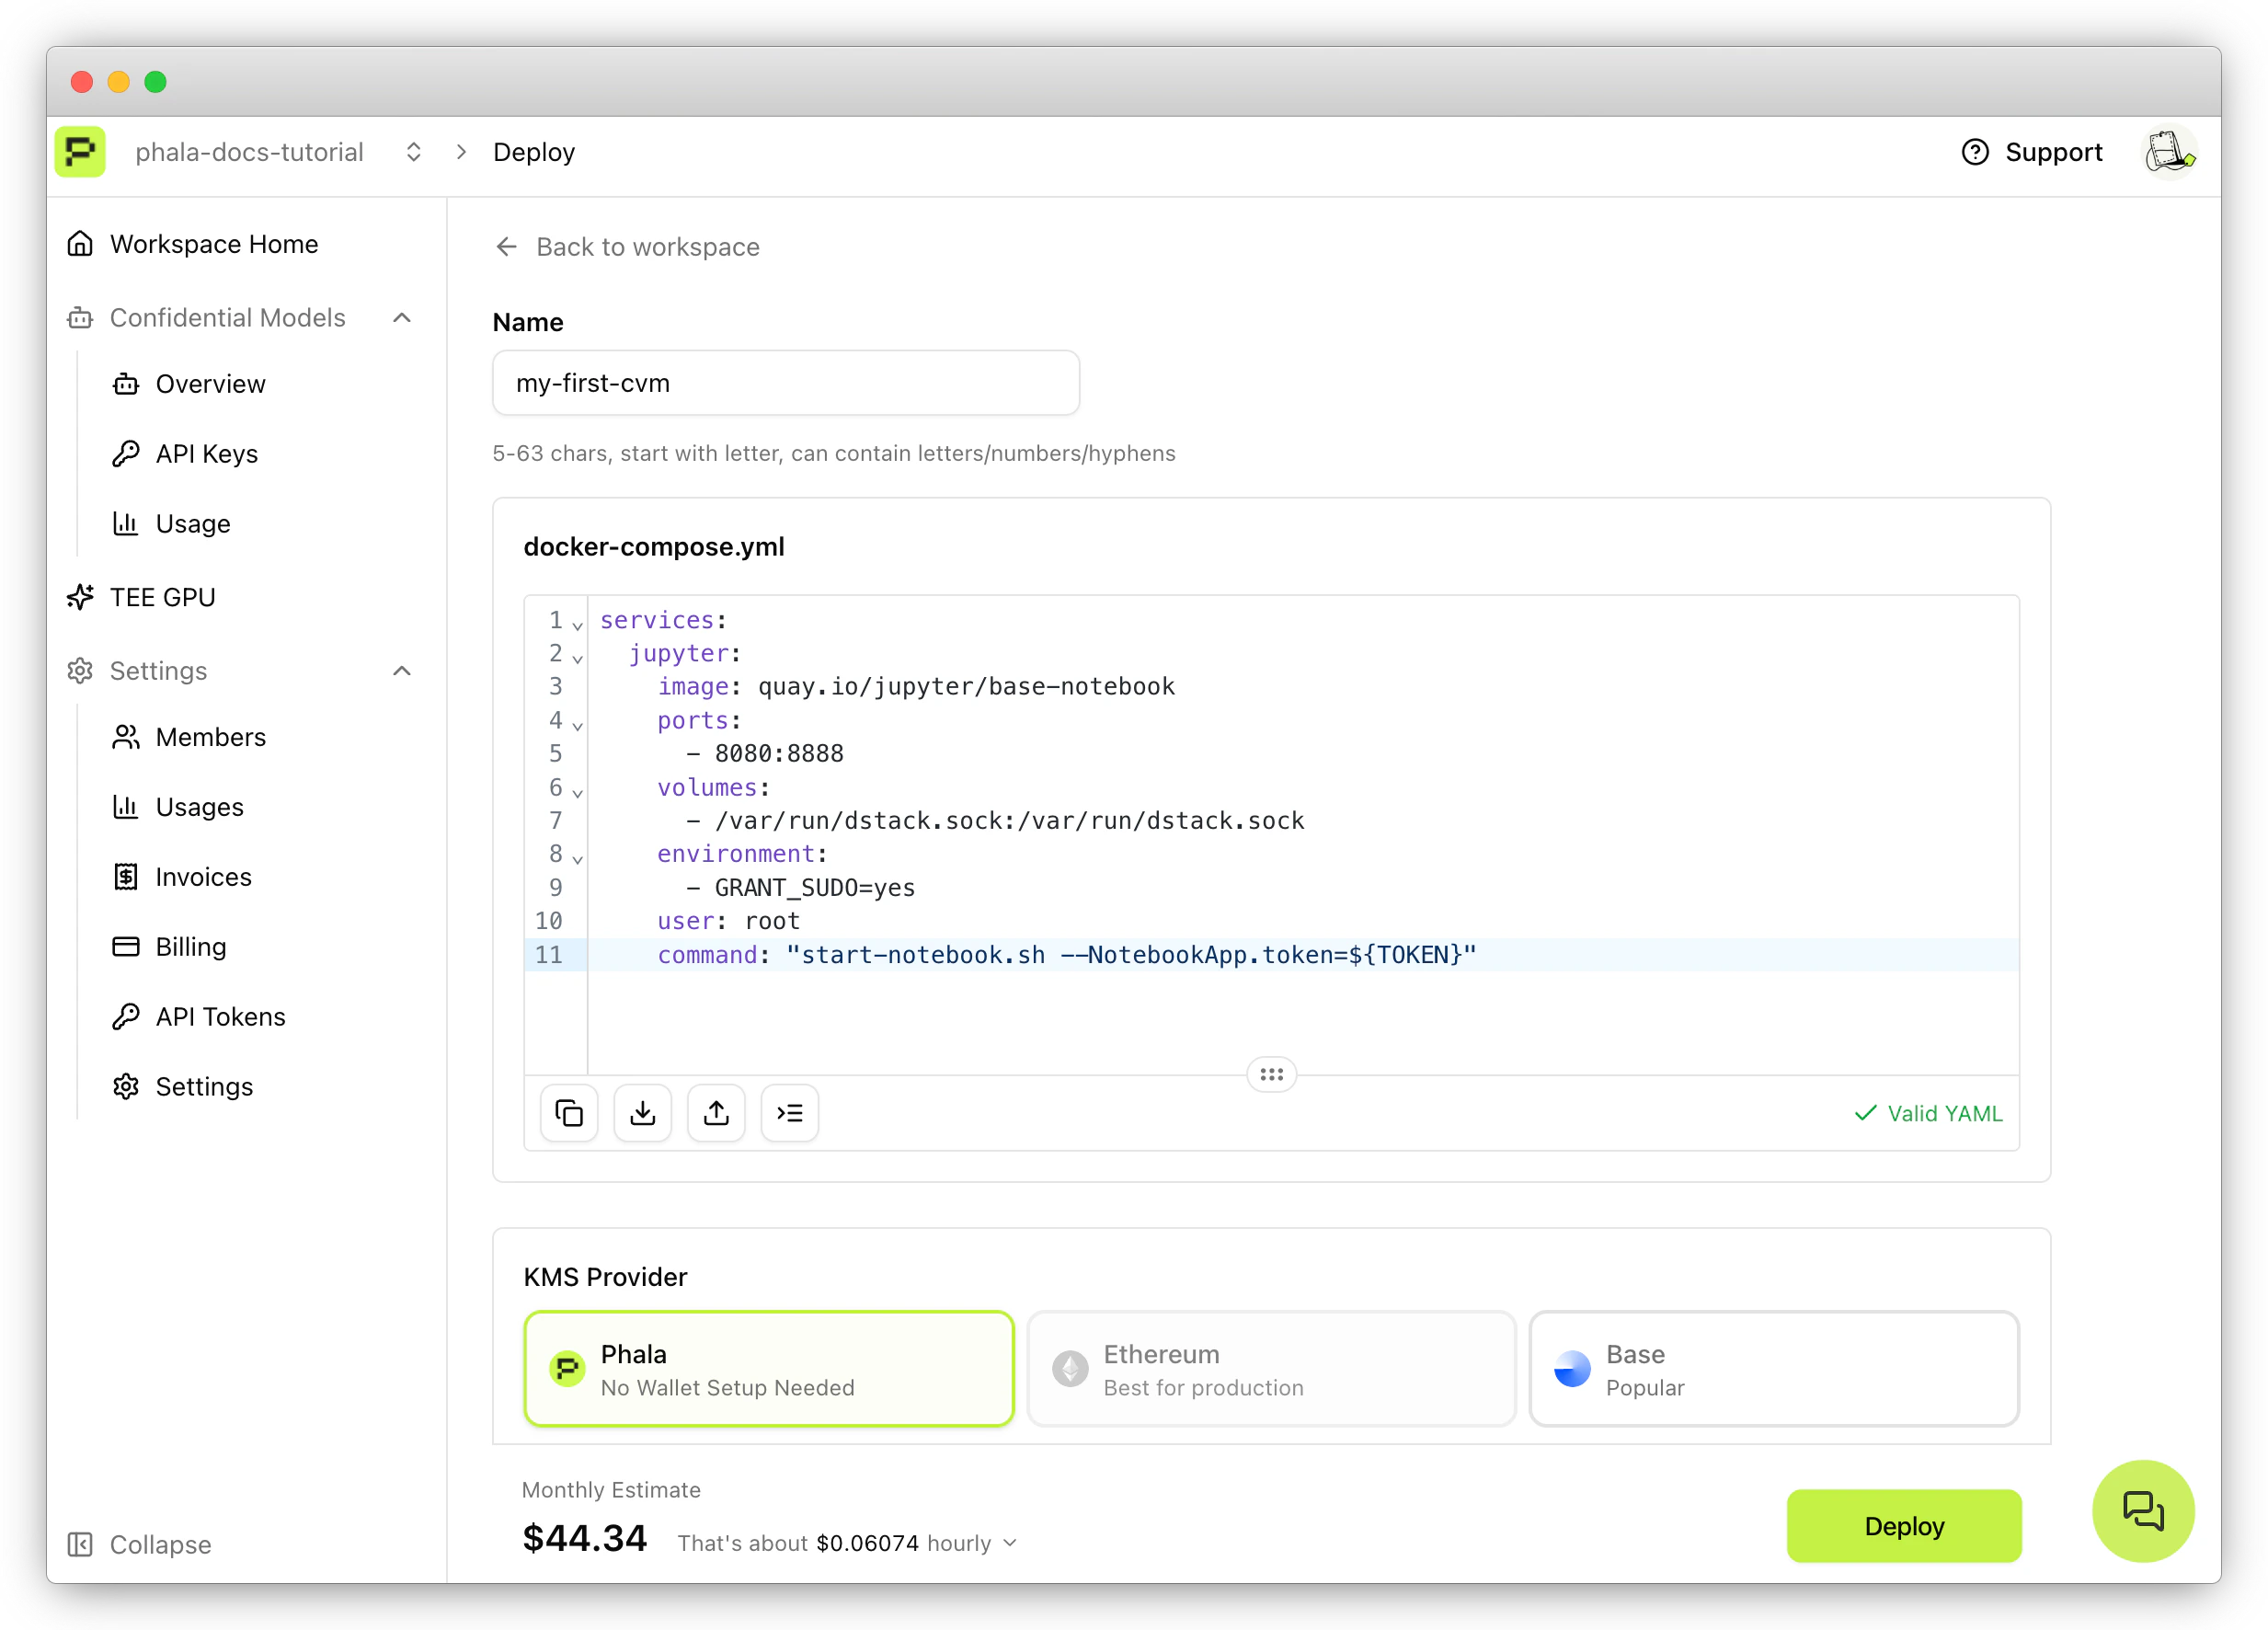 You will come to a CVM configuration page. Click on **Advanced** and replace the default docker compose contents with the following (Make sure to replace the ``with your own:
```docker theme={"system"}
services:
app:
image: /my-app:latest
container_name: app
ports:
- "3000:3000"
volumes:
- /var/run/dstack.sock:/var/run/dstack.sock
```
You will come to a CVM configuration page. Click on **Advanced** and replace the default docker compose contents with the following (Make sure to replace the ``with your own:
```docker theme={"system"}
services:
app:
image: /my-app:latest
container_name: app
ports:
- "3000:3000"
volumes:
- /var/run/dstack.sock:/var/run/dstack.sock
```
 #### Deploy via Phala Cloud CLI
For those using the CLI, you can deploy from the terminal with:
Make sure to change the `image` field to match your published docker image (ex: `0xii/my-app:latest`)
```sh theme={"system"}
npx phala deploy -c docker-compose.yml -n my-app
```
#### Interact with Your Next.js App in Phala Cloud
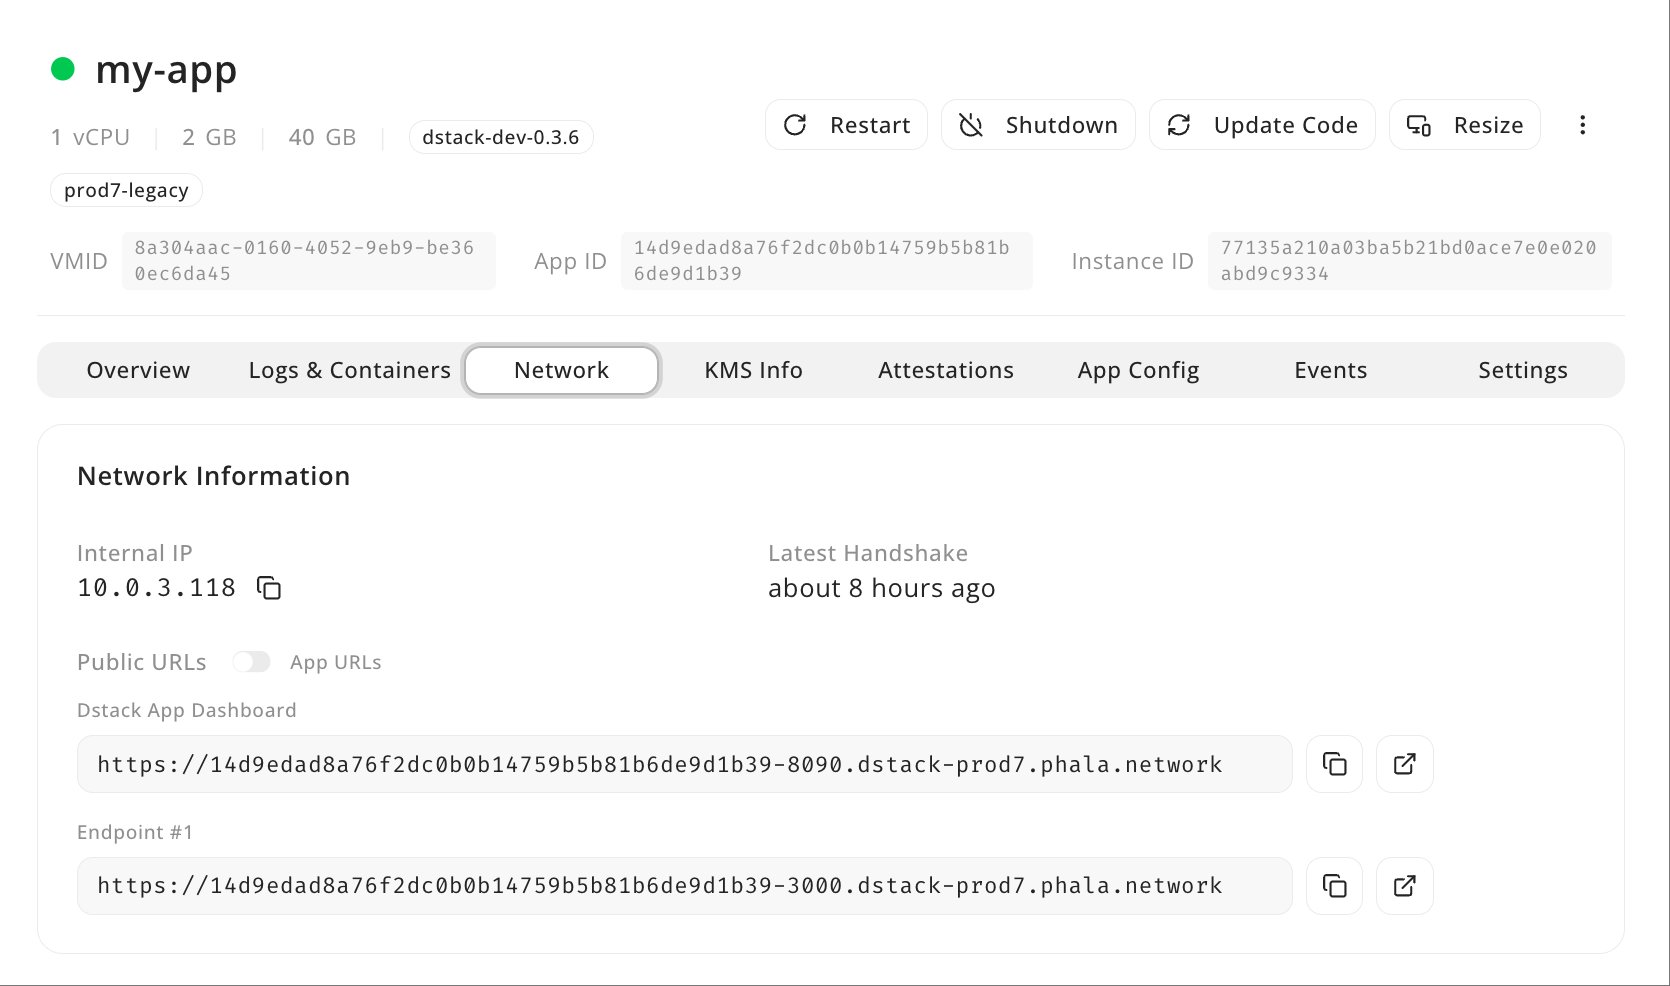
Your application should be deployed now to your Phala Cloud dashboard. Go to the **Network** tab to be able to open your application.
#### Deploy via Phala Cloud CLI
For those using the CLI, you can deploy from the terminal with:
Make sure to change the `image` field to match your published docker image (ex: `0xii/my-app:latest`)
```sh theme={"system"}
npx phala deploy -c docker-compose.yml -n my-app
```
#### Interact with Your Next.js App in Phala Cloud
Your application should be deployed now to your Phala Cloud dashboard. Go to the **Network** tab to be able to open your application.
 ## Phala Cloud Python Starter
This is a template for developing a [FastAPI](https://fastapi.tiangolo.com/)-based app with boilerplate code targeting deployment on [Phala Cloud](https://cloud.phala.com/) and [dstack](https://github.com/dstack-TEE/dstack). It includes the SDK by default to make integration with TEE features easier. This repo also includes a default Dockerfile and docker-compose.yml for deployment.
### Development
In this tutorial, we'll start with venv and pip. First, you need to clone this repo:
```bash theme={"system"}
git clone --depth 1 https://github.com/Phala-Network/phala-cloud-python-starter.git
```
Next, let's initialize the development environment with venv & pip:
```bash theme={"system"}
python -m venv venv
source venv/bin/activate
python -m pip install -r requirements.txt
cp env.example .env
```
We also need to download the dstack simulator:
```bash theme={"system"}
# Mac
wget https://github.com/Leechael/tappd-simulator/releases/download/v0.1.4/tappd-simulator-0.1.4-aarch64-apple-darwin.tgz
tar -xvf tappd-simulator-0.1.4-aarch64-apple-darwin.tgz
cd tappd-simulator-0.1.4-aarch64-apple-darwin
./tappd-simulator -l unix:/tmp/tappd.sock
# Linux
wget https://github.com/Leechael/tappd-simulator/releases/download/v0.1.4/tappd-simulator-0.1.4-x86_64-linux-musl.tgz
tar -xvf tappd-simulator-0.1.4-x86_64-linux-musl.tgz
cd tappd-simulator-0.1.4-x86_64-linux-musl
./tappd-simulator -l unix:/tmp/tappd.sock
```
Once the simulator is running, you need to open another terminal to start your FastAPI development server:
```bash theme={"system"}
# Activate the Python venv
source venv/bin/activate
# Start the FastAPI dev server
python -m fastapi dev
```
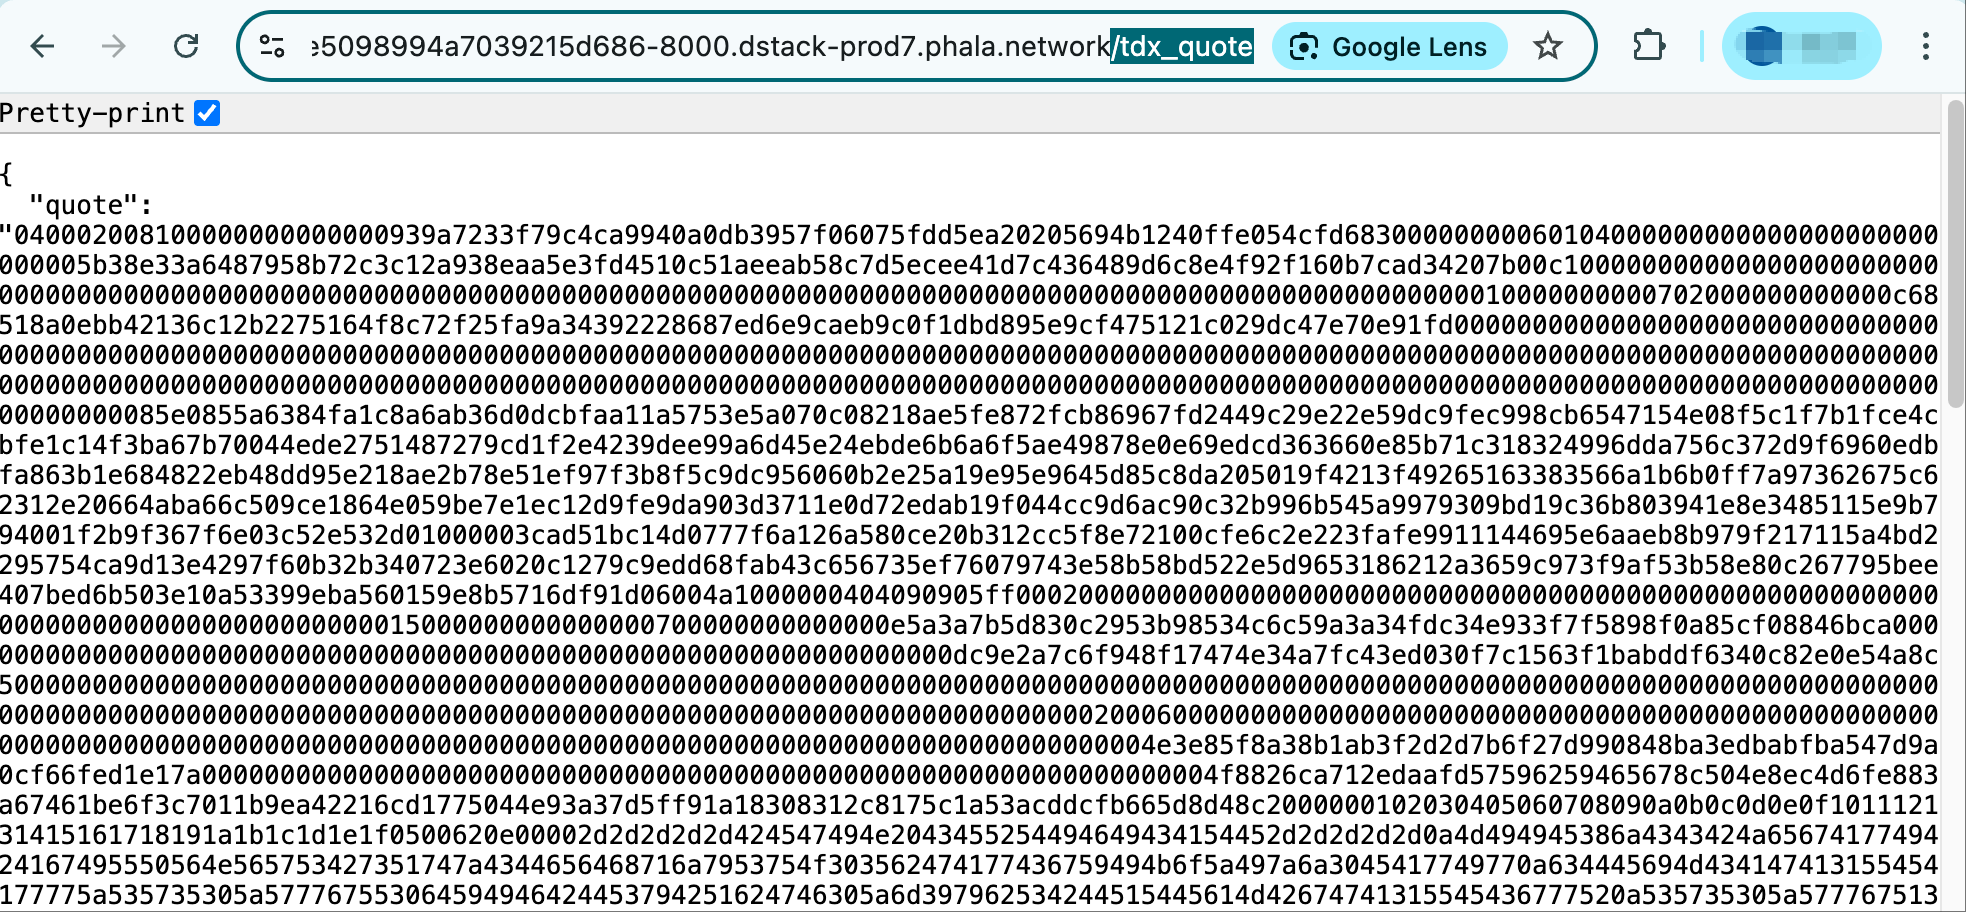
By default, the FastAPI development server will listen on port 8000. Open [http://127.0.0.1:8000/tdx\_quote](http://127.0.0.1:8000/tdx_quote) in your browser to get the quote with reportdata `test`.
#### Build and Publish with Docker CLI
```bash theme={"system"}
docker build . -t /my-app:latest
docker push /my-app:latest
```
Now we have an official docker image for our Python app. Let's deploy to Phala Cloud now.
### Deploy to Phala Cloud
You can copy and paste the `docker-compose.yml` file from this repo to see the example up and running.
#### Deploy in Phala UI
Go to your Phala Cloud dashboard and click Deploy. You will have an option for deploying via docker compose file. Click on this option to deploy.
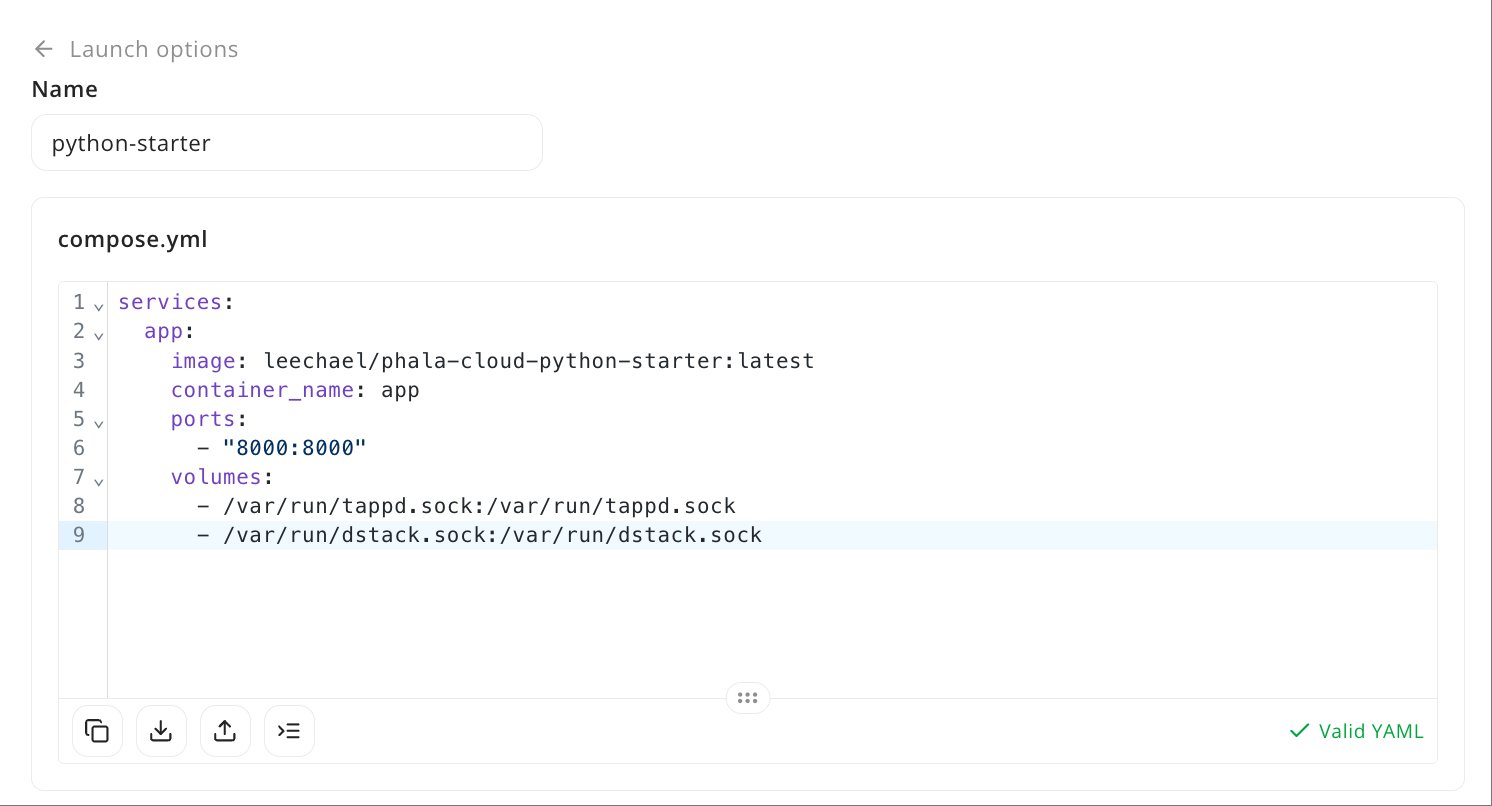
You will come to a CVM configuration page. Click on **Advanced** and replace the default docker compose contents with the following (Make sure to replace the ``with your own:
```
services:
app:
image: /my-app:latest
container_name: app
ports:
- "8000:8000"
volumes:
- /var/run/dstack.sock:/var/run/dstack.sock
```
## Phala Cloud Python Starter
This is a template for developing a [FastAPI](https://fastapi.tiangolo.com/)-based app with boilerplate code targeting deployment on [Phala Cloud](https://cloud.phala.com/) and [dstack](https://github.com/dstack-TEE/dstack). It includes the SDK by default to make integration with TEE features easier. This repo also includes a default Dockerfile and docker-compose.yml for deployment.
### Development
In this tutorial, we'll start with venv and pip. First, you need to clone this repo:
```bash theme={"system"}
git clone --depth 1 https://github.com/Phala-Network/phala-cloud-python-starter.git
```
Next, let's initialize the development environment with venv & pip:
```bash theme={"system"}
python -m venv venv
source venv/bin/activate
python -m pip install -r requirements.txt
cp env.example .env
```
We also need to download the dstack simulator:
```bash theme={"system"}
# Mac
wget https://github.com/Leechael/tappd-simulator/releases/download/v0.1.4/tappd-simulator-0.1.4-aarch64-apple-darwin.tgz
tar -xvf tappd-simulator-0.1.4-aarch64-apple-darwin.tgz
cd tappd-simulator-0.1.4-aarch64-apple-darwin
./tappd-simulator -l unix:/tmp/tappd.sock
# Linux
wget https://github.com/Leechael/tappd-simulator/releases/download/v0.1.4/tappd-simulator-0.1.4-x86_64-linux-musl.tgz
tar -xvf tappd-simulator-0.1.4-x86_64-linux-musl.tgz
cd tappd-simulator-0.1.4-x86_64-linux-musl
./tappd-simulator -l unix:/tmp/tappd.sock
```
Once the simulator is running, you need to open another terminal to start your FastAPI development server:
```bash theme={"system"}
# Activate the Python venv
source venv/bin/activate
# Start the FastAPI dev server
python -m fastapi dev
```
By default, the FastAPI development server will listen on port 8000. Open [http://127.0.0.1:8000/tdx\_quote](http://127.0.0.1:8000/tdx_quote) in your browser to get the quote with reportdata `test`.
#### Build and Publish with Docker CLI
```bash theme={"system"}
docker build . -t /my-app:latest
docker push /my-app:latest
```
Now we have an official docker image for our Python app. Let's deploy to Phala Cloud now.
### Deploy to Phala Cloud
You can copy and paste the `docker-compose.yml` file from this repo to see the example up and running.
#### Deploy in Phala UI
Go to your Phala Cloud dashboard and click Deploy. You will have an option for deploying via docker compose file. Click on this option to deploy.
You will come to a CVM configuration page. Click on **Advanced** and replace the default docker compose contents with the following (Make sure to replace the ``with your own:
```
services:
app:
image: /my-app:latest
container_name: app
ports:
- "8000:8000"
volumes:
- /var/run/dstack.sock:/var/run/dstack.sock
```
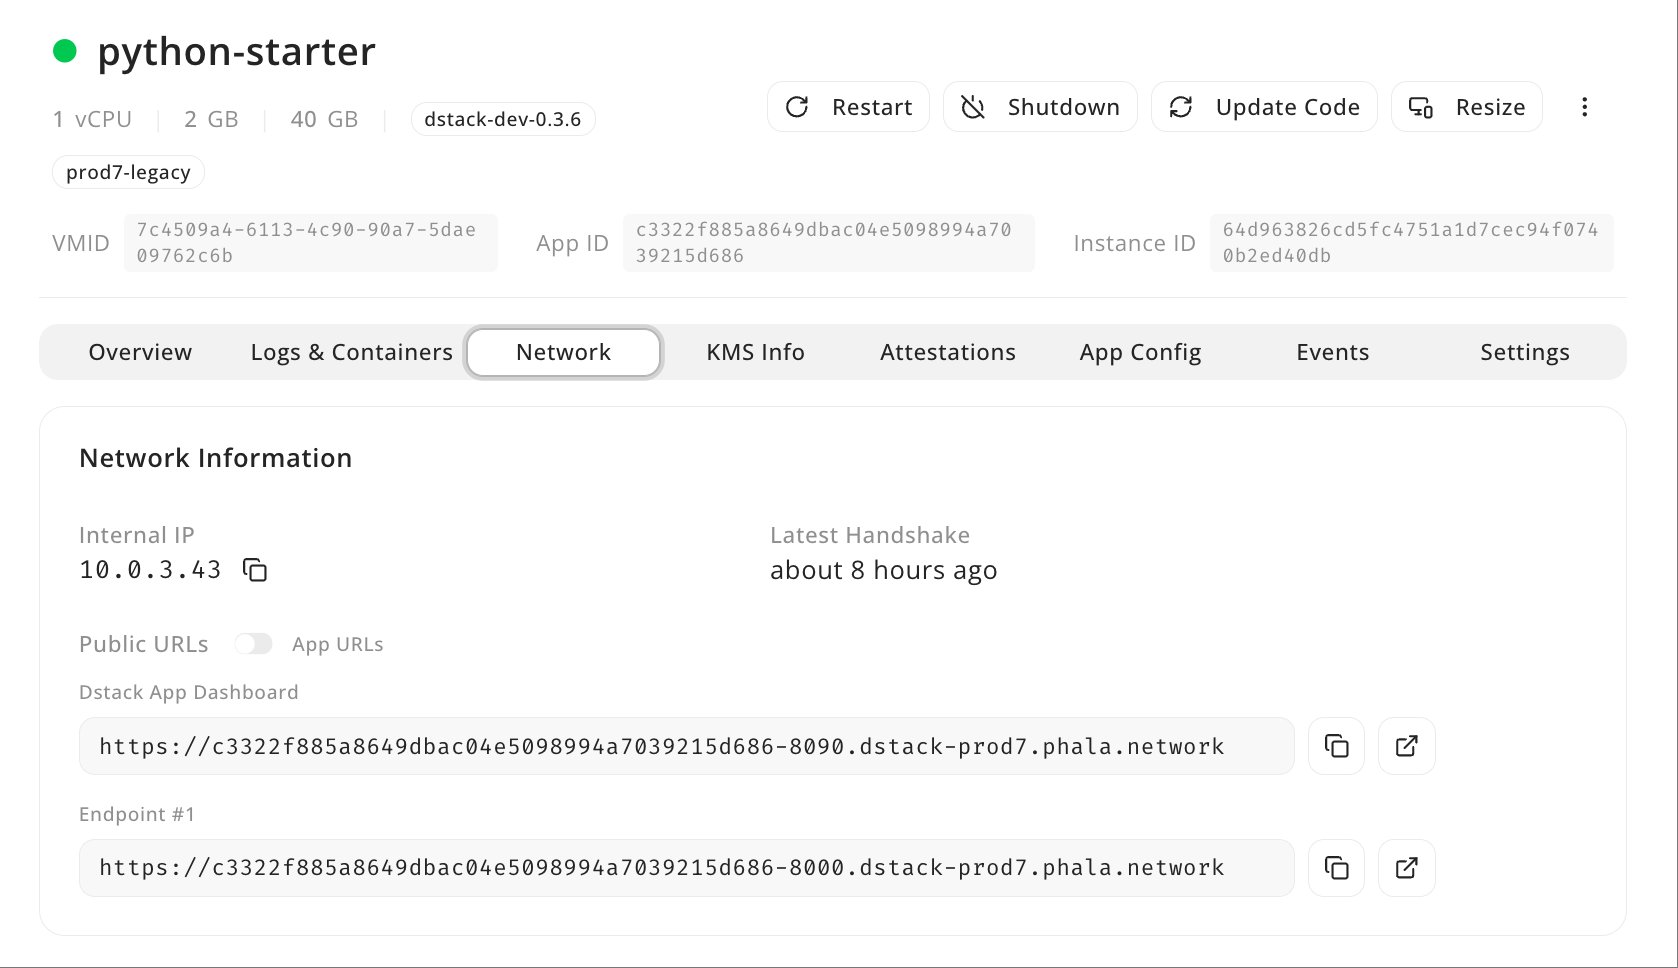
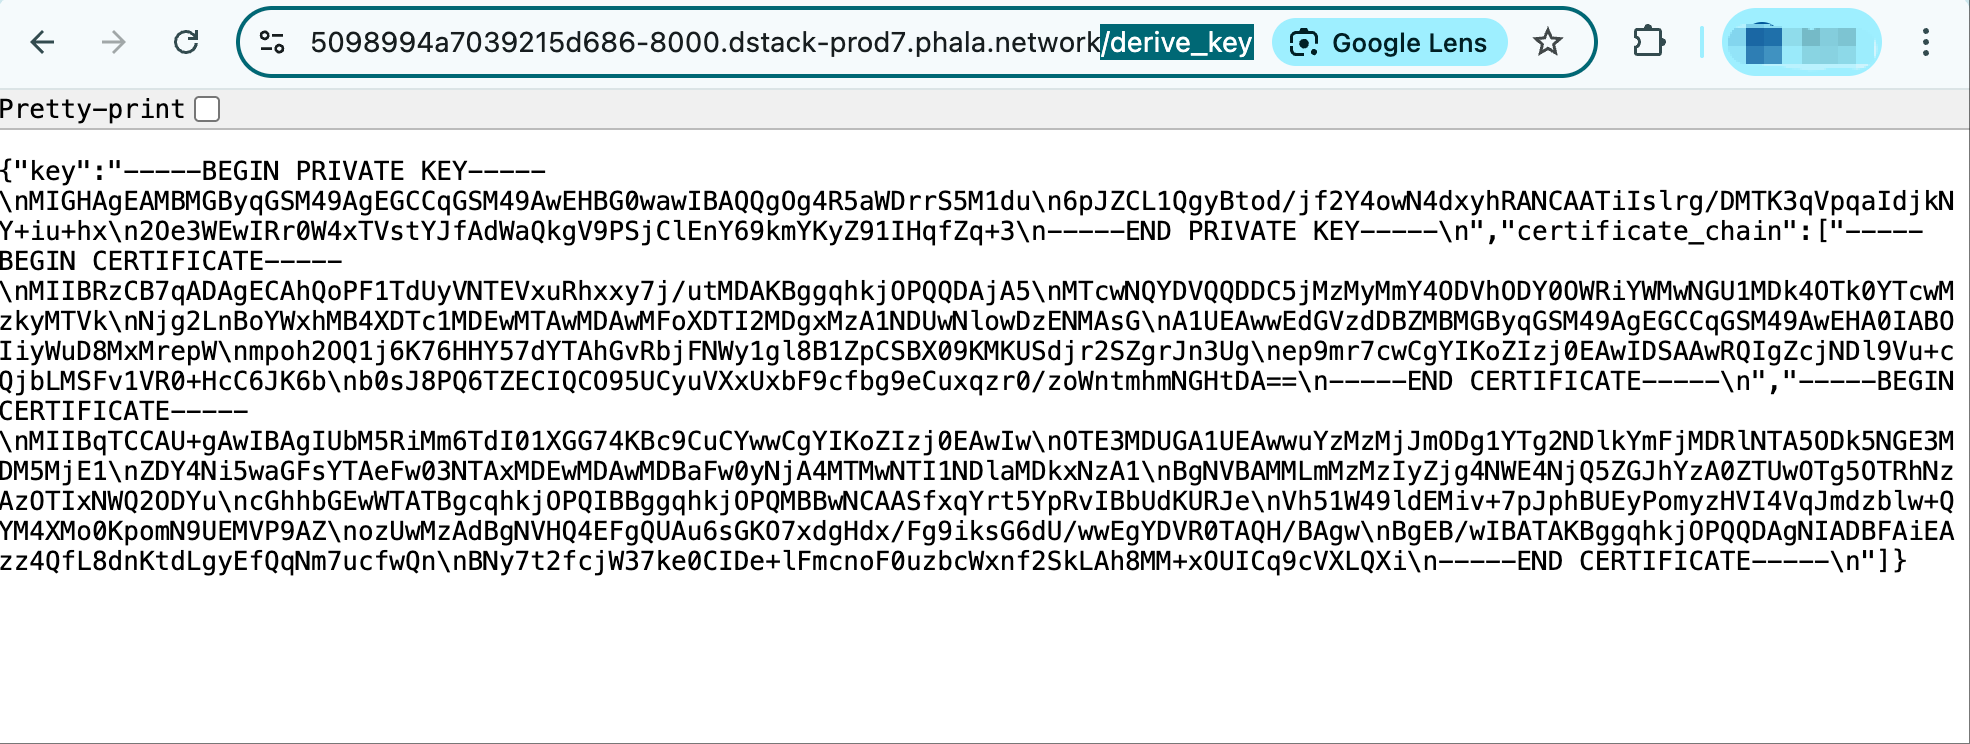
 Now you can interact with your application by going to the **Network** tab and making calls like the following.
 And output of **GET /eth\_account**
```json theme={"system"}
{
"address":"0xf75647Ec8372BF710D95ad634EDb1ED198CeAE6C"
}
```
Output of **GET /sol\_account**
```json theme={"system"}
{
"address":"5JPbG1BP7pZQWsoqQsyCLSvs56SpC2ZAgSHLouVX5Vdn"
}
```
## Conclusion
The last 2 tutorials were key to understanding the basics of deploying a Docker app on a TEE Server. Now you are ready to start building on dstack! For more info on the design of dstack, check out the [Design Documents](/dstack/design-documents/whitepaper).
And output of **GET /eth\_account**
```json theme={"system"}
{
"address":"0xf75647Ec8372BF710D95ad634EDb1ED198CeAE6C"
}
```
Output of **GET /sol\_account**
```json theme={"system"}
{
"address":"5JPbG1BP7pZQWsoqQsyCLSvs56SpC2ZAgSHLouVX5Vdn"
}
```
## Conclusion
The last 2 tutorials were key to understanding the basics of deploying a Docker app on a TEE Server. Now you are ready to start building on dstack! For more info on the design of dstack, check out the [Design Documents](/dstack/design-documents/whitepaper).